So back to the original intent of the blog which was to show projects you’d see on HGTV, but with all the reality left in. The project here was making raised garden beds for our front yard garden. I had suggested this about 2 years ago, but my DW did not want to incur the cost and there was something about the aesthetics she did not like. After a season of getting run over by grass and weeds, over grown tomato plants that turned into ground creepers and a husband willing to pay the price in dollars and hours we are now doing raised beds.
Materials used:
48 – 1 in. x 4 in. x 6 ft. D.E. cedar fence panel – ($1.49ea)
3 – 2 in. x 3 in. x 8 ft. rough cedar fence rail – ($3.77ea)
2 – boxes Deck Mate #8 x 1-5/8 in. Coarse Wood Screws – ($8.69 ea)
8 cu yds compost ($30 cu yd + $65 ship)
~10 cu yds hardwood mulch – Apparently free
Project total = $431.84 after tax
Step one was to cut 16 of the fence panels in half and then cut the rails into 7″ pieces. Why 7′? 4″ in wood talk is actually 3.5″. The width is always 1/2 in thinner.
Step two was to assemble the long sides. Two long panels and two rail pieces with an added rail in the middle for support. The planters were stacked two boards tall to give us 7″ beds.
Step three, assemble the boxes by putting your longs rails on the ground, standing on their sides and attaching the short panels to one corner then the other.
Sounds easy right? Well, the notes to self are as follows:
- Don’t pre-drill all your holes. Sounds like it would same time and it might if you assemble one box all the way and take measurements from that one to pre-drill all the other boards. I ended up with the holes too close to the edge to sink a screw in the rail, so I had to redrill the holes anyway.
- Get two boxes of screws. I only got one to begin with, but I was putting two screws in each panel where it connected to the rail. These need to last, so I wanted them tight. That’s 40 screws a box and that is over a pound.
- Assemble all the long sides and add then add the short panels. It took me a bit of trial and error with getting the boxes together. I assembled a couple of short sides then tried to put the long sides on on the ground. The was a lot of back ache and knee pain. It is easier to assemble the heavier long sides on your bench then set the two sides up on the ground and attach the short pieces.
- Hide them from your DW so she cannot start putting them on the ground without your help and hurt her back. :^)
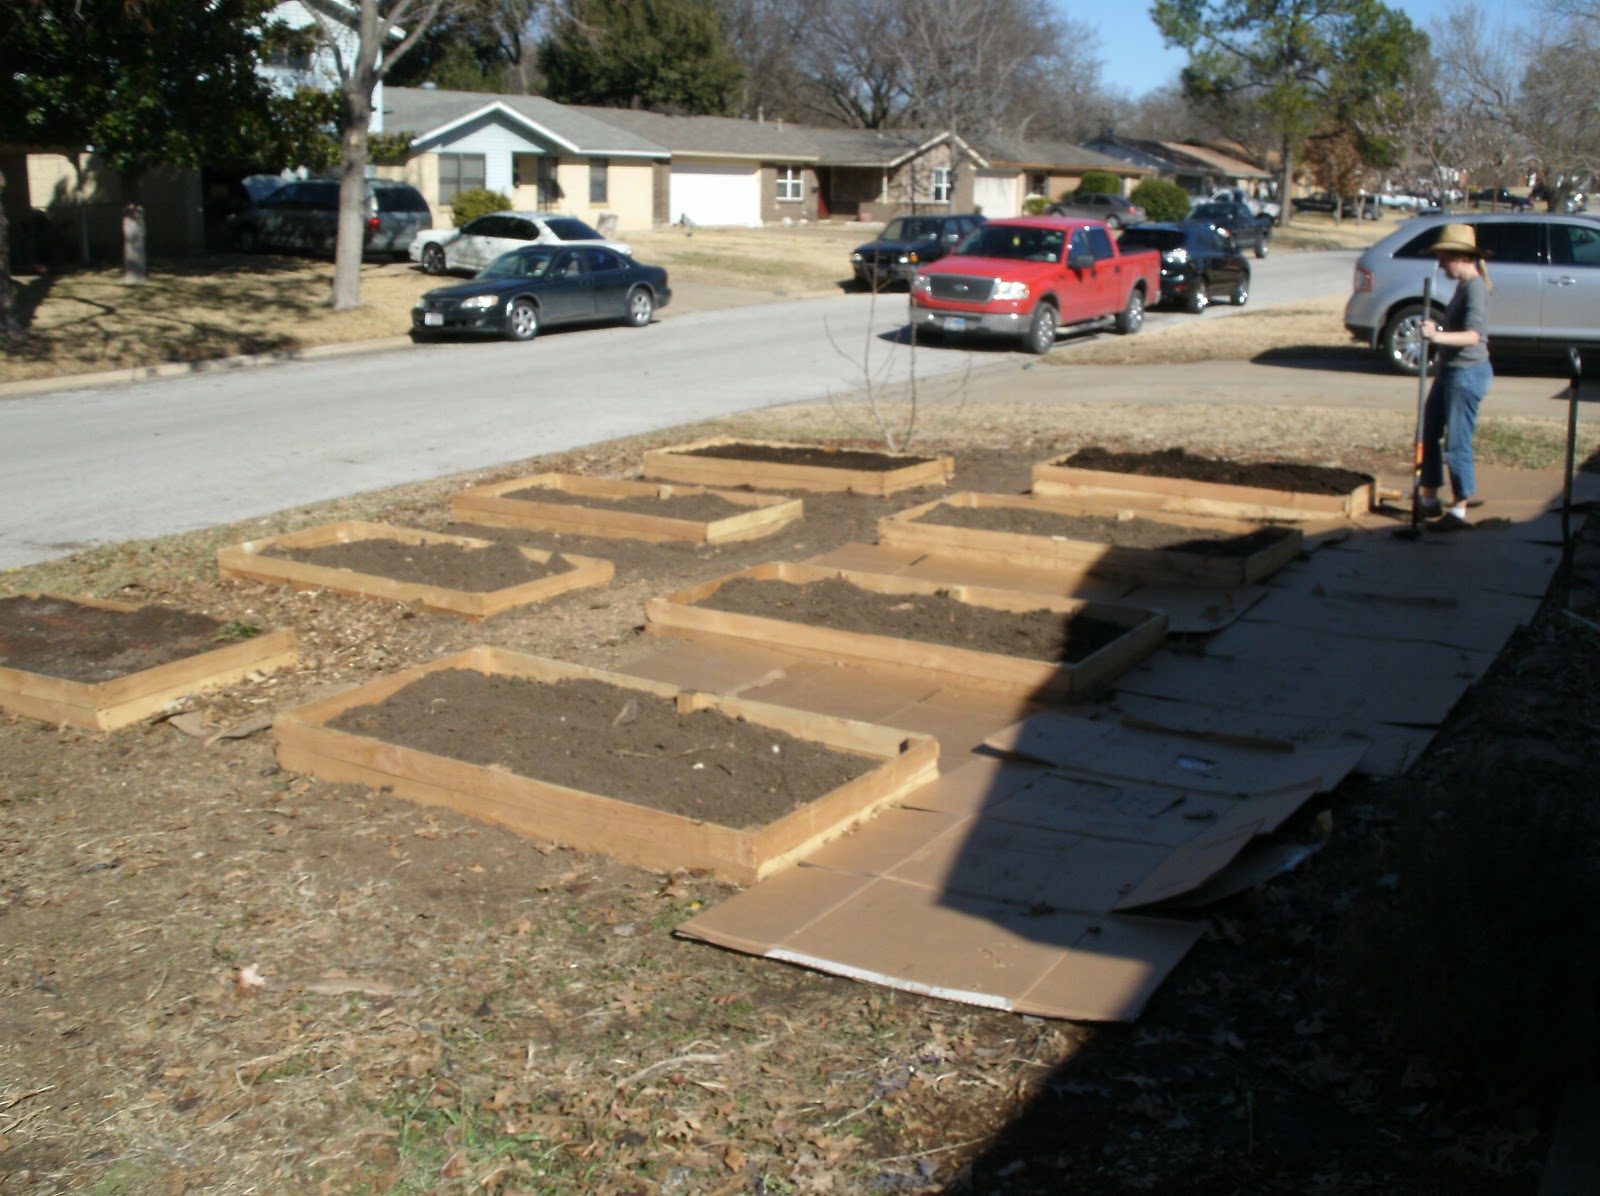
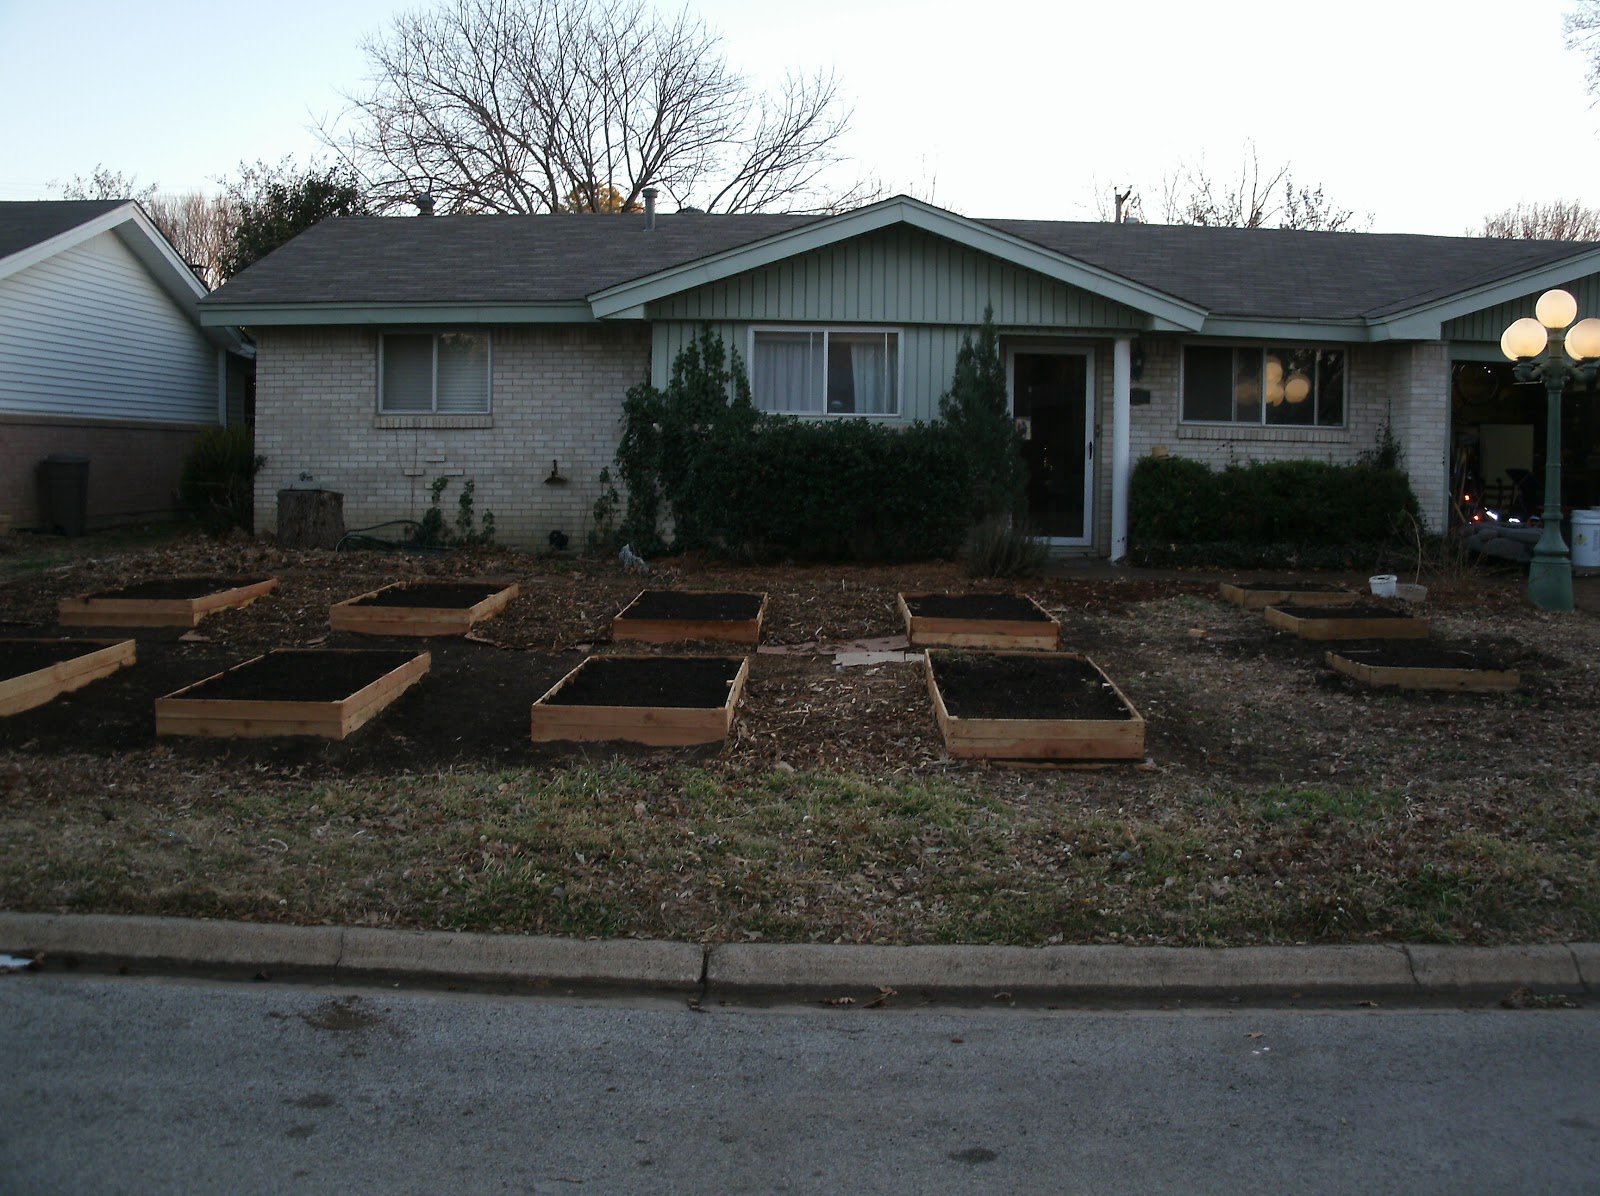
Now the garden will have 8 raised beds with mulch paths running in between. This will keep our good soil in one place uncompacted. I will post further pics as the season goes.
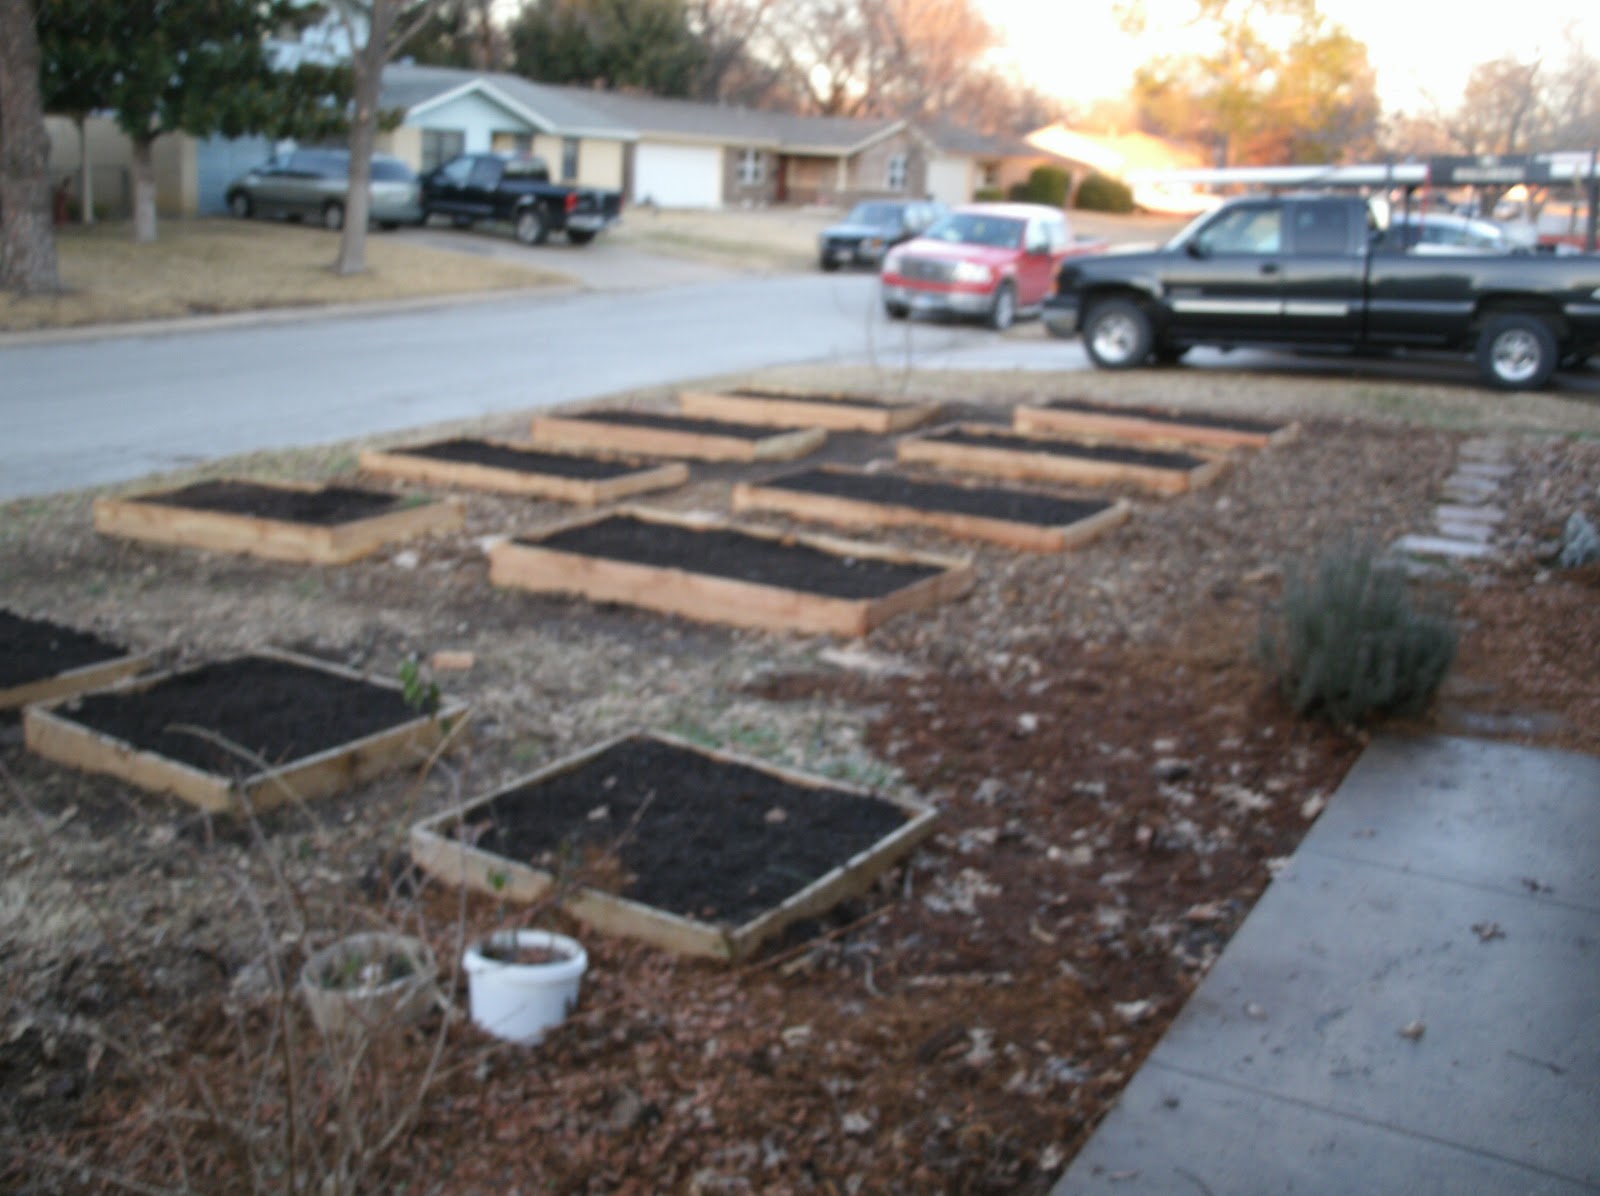
Here are the pics of the finished beds set:
Beds laid out, Mel is putting down the mulch for paths
Mulch in place (what we had) and compost filled beds.
Started with 8cu yds of compost. That was…a little too much.
What was left. Still finding places in our yard to put it.